
How Do You Change a Bike Inner Tube: A Comprehensive Guide
Flat tires are an inevitable part of cycling. Knowing how do you change a bike inner tube is a crucial skill for any cyclist, whether you’re a seasoned pro or a casual rider. This guide provides a step-by-step approach to changing a bike inner tube, ensuring you can get back on the road or trail quickly and safely. We’ll cover everything from identifying the problem to inflating the new tube and performing a final check. Learning how do you change a bike inner tube empowers you to handle minor mechanical issues independently, enhancing your cycling experience and preparedness.
Preparing for the Task
Before you even begin thinking about how do you change a bike inner tube, preparation is key. Having the right tools and a safe environment will make the process much smoother.
Essential Tools and Materials
- Spare Inner Tube: Make sure it’s the correct size for your bike’s tires. Check the sidewall of your tire for the size information.
- Tire Levers: These help you remove the tire from the rim. Plastic ones are generally preferred to avoid damaging the rim.
- Bike Pump or CO2 Inflator: To inflate the new tube. [See also: Best Bike Pumps for Road Cycling]
- Multi-Tool or Wrenches: Depending on your bike, you might need these to remove the wheel.
- Patch Kit (Optional): For temporary repairs if you have multiple flats or want to fix the old tube later.
- Gloves (Optional): To keep your hands clean.
Finding a Safe Location
Pull over to a safe location away from traffic. A flat, stable surface is ideal. If you’re on a busy road, move your bike as far off the road as possible. Safety is paramount when learning how do you change a bike inner tube.
Step-by-Step Guide: Changing Your Bike Inner Tube
Now, let’s dive into the process of how do you change a bike inner tube. Follow these steps carefully.
Removing the Wheel
- Shift to the Smallest Cog: This makes it easier to remove the rear wheel.
- Release the Brakes: Disconnect the brake cable or open the brake lever, depending on your brake type.
- Loosen the Axle: Open the quick-release lever or use a wrench to loosen the axle nuts.
- Remove the Wheel: Carefully lift the bike and remove the wheel.
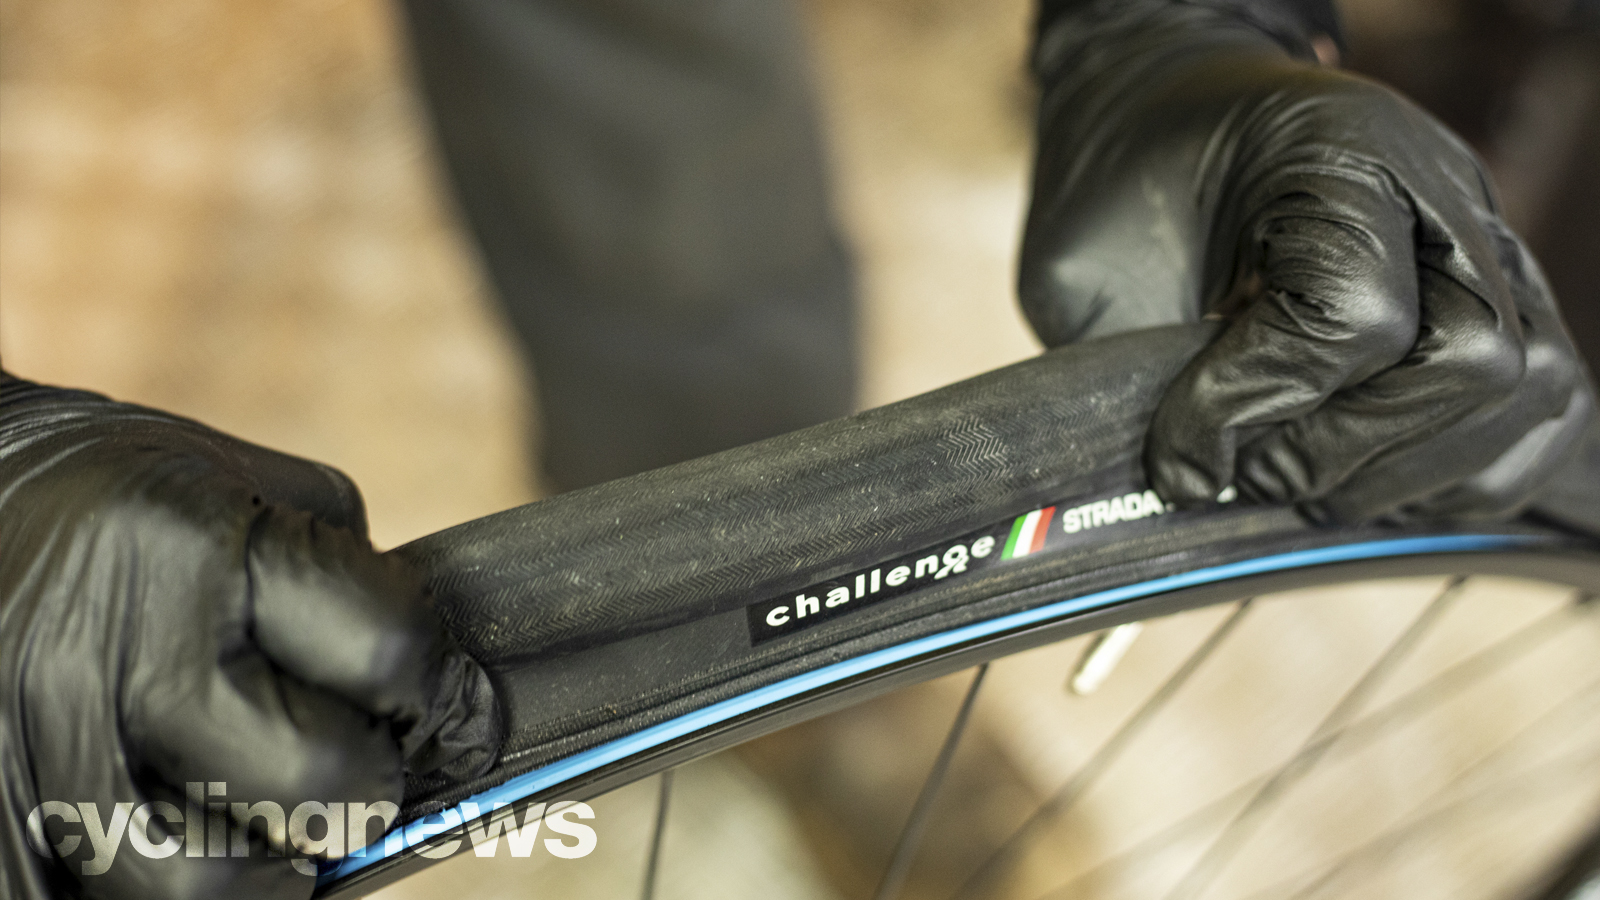
Removing the Tire
- Deflate the Tire Completely: Press the valve core to release any remaining air.
- Insert Tire Levers: Insert one tire lever under the tire bead, hooking it onto a spoke. Insert a second lever a few inches away and pry that section of the tire off the rim.
- Slide the Second Lever: Slide the second lever around the rim to remove one side of the tire completely.
- Remove the Inner Tube: Pull the valve stem out of the rim and then remove the inner tube from inside the tire.
Inspecting the Tire
Before installing the new tube, carefully inspect the inside of the tire for any sharp objects that caused the puncture. Run your fingers along the inside of the tire to feel for glass, thorns, or metal shards. Remove any debris you find. This is a critical step in how do you change a bike inner tube to prevent future flats.
Installing the New Inner Tube
- Slightly Inflate the New Tube: Add just enough air to give the tube some shape. This will prevent it from getting pinched during installation.
- Insert the Valve Stem: Insert the valve stem into the hole in the rim.
- Tuck the Tube into the Tire: Carefully tuck the inner tube into the tire, working your way around the rim.
- Seat the Tire Bead: Use your thumbs to push the tire bead back onto the rim. Start opposite the valve stem and work your way around. This can sometimes be tricky, especially with tight tires. Make sure the tube isn’t pinched between the tire and the rim.
- Check the Tire Seating: Ensure the tire bead is evenly seated all the way around the rim. Look for a consistent line where the tire meets the rim.
Inflating the Tire
- Inflate to the Recommended Pressure: Check the sidewall of your tire for the recommended pressure range (PSI). Use a bike pump or CO2 inflator to inflate the tire to the correct pressure.
- Check for Leaks: After inflating, check for any leaks around the valve stem and the tire bead.
Reinstalling the Wheel
- Align the Wheel: Align the wheel with the frame or fork dropouts.
- Tighten the Axle: Close the quick-release lever or tighten the axle nuts securely.
- Reconnect the Brakes: Reconnect the brake cable or close the brake lever.
- Test the Brakes: Make sure the brakes are working properly before riding.
Troubleshooting Common Issues
Even with a clear guide, you might encounter some issues when learning how do you change a bike inner tube. Here are some common problems and solutions:
Pinch Flats
A pinch flat, also known as a snakebite flat, occurs when the inner tube gets pinched between the tire and the rim. This usually happens when the tire is underinflated or when hitting a sharp edge. To prevent pinch flats:
- Maintain Proper Tire Pressure: Regularly check and inflate your tires to the recommended pressure.
- Be Mindful of Obstacles: Avoid hitting potholes and sharp edges.
- Proper Tire Seating: Ensure the tire bead is fully seated on the rim.
Tight Tires
Some tires are notoriously difficult to get on and off the rim. Here are some tips for dealing with tight tires:
- Use Tire Levers Carefully: Avoid pinching the inner tube with the levers.
- Work the Tire Bead: Use your thumbs to massage the tire bead into the rim.
- Use Soap and Water: A small amount of soapy water can help lubricate the tire bead.
- Get Help: If you’re struggling, don’t hesitate to ask another cyclist for assistance.
Leaky Valve Stem
If you notice air leaking from the valve stem, it could be due to a damaged valve core or a loose valve nut. Try tightening the valve nut or replacing the valve core. If the problem persists, you may need to replace the inner tube.
Tips for Preventing Flat Tires
While knowing how do you change a bike inner tube is essential, preventing flats in the first place is even better. Here are some tips to minimize your chances of getting a flat tire:
- Maintain Proper Tire Pressure: Underinflated tires are more prone to pinch flats, while overinflated tires can be more susceptible to punctures.
- Inspect Your Tires Regularly: Check for cuts, embedded debris, and wear. Replace tires that are worn or damaged.
- Use Tire Liners or Sealant: Tire liners provide an extra layer of protection against punctures, while tire sealant can seal small punctures as they occur.
- Avoid Hazards: Be mindful of road debris, potholes, and glass.
- Ride Smoothly: Avoid sudden braking and sharp turns, which can increase the risk of flats.
Practice Makes Perfect
The best way to become proficient at how do you change a bike inner tube is to practice. Try changing a tube in a controlled environment, like your garage or backyard, before you need to do it on the road. This will help you become familiar with the process and build your confidence. Consider practicing with different types of tires and rims to prepare for various situations.
Conclusion
Knowing how do you change a bike inner tube is an invaluable skill for any cyclist. By following this comprehensive guide, you can confidently tackle flat tires and keep your rides rolling smoothly. Remember to practice regularly, maintain your equipment, and prioritize safety. With a little preparation and know-how, you’ll be well-equipped to handle any flat tire situation that comes your way. Mastering how do you change a bike inner tube not only saves you time and money but also empowers you to enjoy your cycling adventures to the fullest. So, grab your tools, get out there, and keep pedaling!
