
How to Remove Scuffs From Your Car: A Comprehensive Guide
Scuffs are an unfortunate reality for car owners. Whether it’s a minor brush against a shopping cart or a more significant scrape, these blemishes can detract from your vehicle’s appearance and even impact its resale value. Understanding how to remove scuffs from car paint is a valuable skill that can save you time and money. This comprehensive guide will walk you through the process, from identifying the type of scuff to applying the final polish.
Understanding Car Scuffs
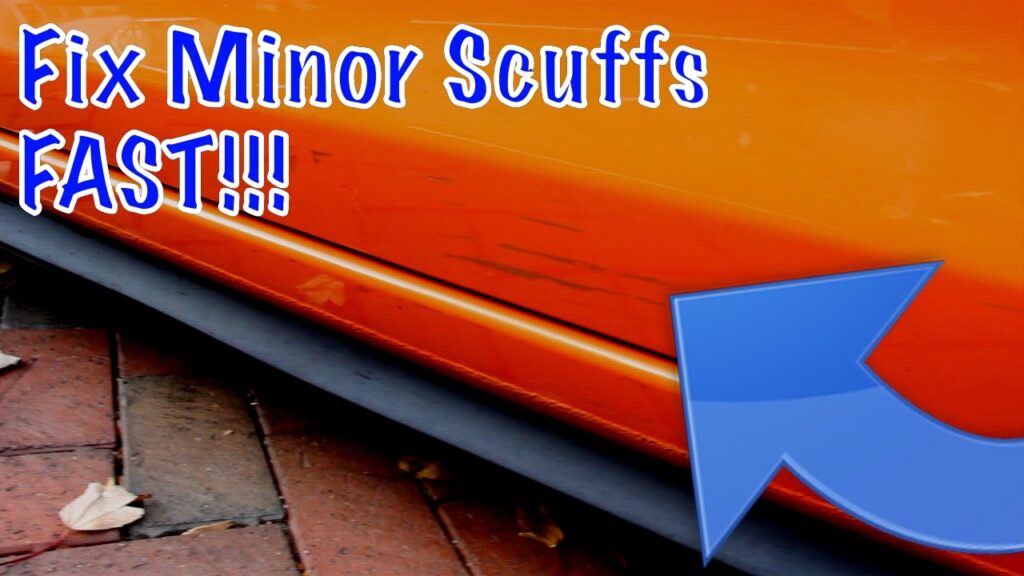
Before diving into the removal process, it’s crucial to understand the nature of car scuffs. Scuffs are typically superficial scratches that affect the clear coat or paint layer of your car’s finish. They often appear as dull or hazy marks, contrasting with the surrounding glossy paint. Knowing the type of scuff you’re dealing with will determine the best approach for removal. There are mainly two types of scuffs to consider:
- Clear Coat Scuffs: These only affect the clear coat layer, the outermost protective layer of your car’s paint. They are usually less severe and easier to remove.
- Paint Scuffs: These penetrate deeper, affecting the paint layer beneath the clear coat. They require a more aggressive approach and may necessitate touch-up paint.
Assessing the Damage
The first step in how to remove scuffs from car is to carefully assess the damage. Clean the affected area thoroughly with soap and water to remove any dirt or debris that could obscure the scuff. Once clean, examine the scuff closely. If you can feel the scratch with your fingernail, it’s likely a deeper paint scuff. If it feels smooth, it’s probably a clear coat scuff. This assessment will guide your choice of removal methods and products.
Tools and Materials You’ll Need
Having the right tools and materials is essential for effective scuff removal. Here’s a list of items you’ll likely need:
- Car Wash Soap: For cleaning the affected area.
- Microfiber Towels: Soft, lint-free towels for cleaning and polishing.
- Clay Bar: To remove embedded contaminants from the paint surface.
- Detailing Spray: To lubricate the clay bar and provide a smooth surface.
- Scratch Remover or Compound: A mild abrasive product to remove the scuff.
- Polishing Compound: To refine the finish and restore shine.
- Wax or Sealant: To protect the paint and enhance gloss.
- Applicator Pads: For applying scratch remover, polishing compound, and wax.
- Buffing Machine (Optional): For faster and more effective polishing.
Step-by-Step Guide to Removing Car Scuffs
Now, let’s get into the process of how to remove scuffs from car. Follow these steps carefully for the best results:
Step 1: Wash and Dry the Area
Begin by thoroughly washing the affected area with car wash soap and water. Rinse well and dry with a clean microfiber towel. This removes any dirt or debris that could scratch the paint further during the removal process.
Step 2: Clay Bar Treatment (Optional but Recommended)
Using a clay bar can help remove embedded contaminants from the paint surface, ensuring a smoother finish. Spray the area with detailing spray and gently rub the clay bar back and forth. Fold the clay bar frequently to expose a clean surface. Wipe away any residue with a microfiber towel. [See also: Car Detailing Tips for Beginners]
Step 3: Apply Scratch Remover or Compound
Apply a small amount of scratch remover or compound to an applicator pad. Gently rub the product onto the scuffed area using a circular motion. Apply moderate pressure, but avoid pressing too hard. Work in small sections and gradually increase the pressure as needed. If you’re using a buffing machine, follow the manufacturer’s instructions for speed and pressure.
Step 4: Polish the Area
After using the scratch remover, polish the area with a polishing compound. This will refine the finish and restore shine. Apply the polishing compound to a clean applicator pad and rub it onto the area using a circular motion. Use a lighter pressure than with the scratch remover. If you’re using a buffing machine, switch to a polishing pad and follow the manufacturer’s instructions.
Step 5: Wax or Seal the Paint
The final step is to protect the paint and enhance gloss with wax or sealant. Apply a thin layer of wax or sealant to the area using a clean applicator pad. Allow it to dry according to the manufacturer’s instructions, then buff it off with a clean microfiber towel. This will leave your car with a beautiful, glossy finish.
Dealing with Deeper Scratches
If the scuff is too deep to be removed with scratch remover and polishing compound, you may need to use touch-up paint. Touch-up paint is available at most auto parts stores and dealerships. It’s important to match the paint color to your car’s paint code for the best results. Here’s how to use touch-up paint:
- Clean the area thoroughly with soap and water.
- Apply a thin layer of touch-up paint to the scratch using a fine-tipped brush.
- Allow the paint to dry completely.
- Apply a second coat of touch-up paint if needed.
- Once the paint is dry, use a polishing compound to blend the touch-up paint with the surrounding paint.
- Apply wax or sealant to protect the paint.
Preventing Future Scuffs
Prevention is always better than cure. Here are some tips to help prevent future scuffs on your car:
- Park your car in a safe location, away from other vehicles and potential hazards.
- Be careful when opening doors and avoid hitting other objects.
- Wash your car regularly to remove dirt and debris that could scratch the paint.
- Apply a protective coating of wax or sealant to your car’s paint.
- Consider using paint protection film (PPF) for added protection.
Professional Help
If you’re not comfortable removing scuffs yourself, or if the damage is extensive, consider seeking professional help. A professional detailer or auto body shop can assess the damage and recommend the best course of action. They have the tools and expertise to remove even the most stubborn scuffs and restore your car’s paint to its original condition. Knowing how to remove scuffs from car is great, but sometimes professional intervention is necessary.
Common Mistakes to Avoid
When attempting to remove scuffs from your car, avoid these common mistakes:
- Using abrasive cleaners: These can damage the paint and make the scuff worse.
- Applying too much pressure: This can scratch the paint.
- Using dirty towels: This can scratch the paint.
- Working in direct sunlight: This can cause the products to dry too quickly.
- Skipping steps: Each step is important for achieving the best results.
Conclusion
Learning how to remove scuffs from car is a valuable skill that can help you maintain your vehicle’s appearance and value. By following the steps outlined in this guide, you can effectively remove minor scuffs and restore your car’s paint to its original condition. Remember to assess the damage carefully, use the right tools and materials, and take your time. If you’re unsure about any step, or if the damage is extensive, don’t hesitate to seek professional help. With a little patience and effort, you can keep your car looking its best for years to come. Knowing how to tackle these imperfections not only saves money on professional detailing but also empowers you to take pride in your vehicle’s upkeep. This process, when done correctly, can significantly extend the life and aesthetic appeal of your car’s paint job. Remember to always prioritize safety and proper technique when working with automotive chemicals and equipment. By understanding the principles and practices detailed above, you’ll be well-equipped to handle most common scuff removal scenarios. This knowledge provides a valuable skillset for any car owner interested in maintaining their vehicle’s appearance and value. So, take the time to learn and practice these techniques, and you’ll be able to confidently address those unsightly scuffs whenever they arise. Remember, regular maintenance and prompt attention to minor imperfections are key to preserving your car’s finish and overall value. [See also: Best Car Wax for Protecting Your Paint]
