
How to Repair Rust Spots on Your Car: A Comprehensive Guide
Rust. It’s the bane of every car owner’s existence. Those unsightly orange or brown spots popping up on your vehicle’s body are not just cosmetic issues; they’re signs of corrosion eating away at the metal. Addressing these rust spots on your car promptly and effectively is crucial to preventing further damage and maintaining your vehicle’s value. This comprehensive guide will walk you through the process of repairing rust spots on your car, from identifying the problem to applying the finishing touches.
Understanding Rust Formation
Before diving into the rust repair process, it’s essential to understand how rust forms. Rust, scientifically known as iron oxide, is the result of a chemical reaction between iron, oxygen, and moisture. When these elements combine, they create a flaky, reddish-brown substance that weakens the metal beneath. Road salt, acid rain, and even scratches in the paint can accelerate the rusting process. Ignoring these early signs of rust spots on your car can lead to significant structural damage over time, making repairs more costly and complex.
Identifying Rust Spots: A Visual Inspection
The first step in repairing rust spots on your car is to identify them. Conduct a thorough visual inspection of your vehicle, paying close attention to areas prone to rust, such as:
- Wheel wells
- Rocker panels
- Door edges and bottoms
- Around windshield and window seals
- Areas with chipped or scratched paint
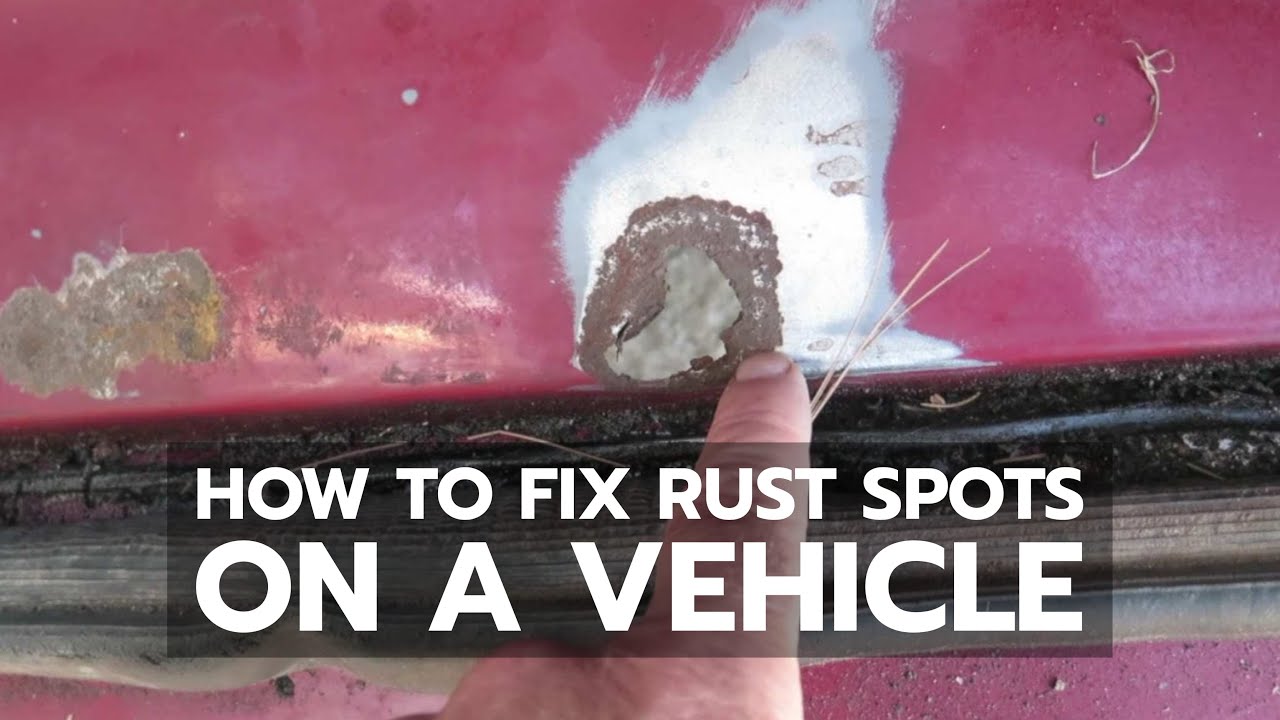
Look for discoloration, bubbling paint, and the characteristic orange or brown color of rust. Light surface rust spots on your car are generally easier to repair than deep, penetrating rust. Use a screwdriver or similar tool to gently probe suspected areas. If the metal feels soft or crumbles easily, the rust may have already caused significant damage, requiring more extensive repairs.
Essential Tools and Materials for Rust Repair
Having the right tools and materials on hand is crucial for a successful rust repair. Here’s a list of essentials:
- Safety glasses and gloves: Protect yourself from debris and chemicals.
- Sandpaper: Various grits (80, 120, 220, 320) for removing rust and smoothing surfaces.
- Wire brush or drill with wire brush attachment: For removing loose rust.
- Rust converter or rust remover: Chemically treats and neutralizes rust.
- Body filler (Bondo): Fills in dents and imperfections.
- Putty knife or spreader: For applying body filler.
- Primer: Prepares the surface for paint.
- Automotive paint: Matching the original color of your car.
- Clear coat: Protects the paint and adds shine.
- Masking tape and paper: Protects surrounding areas from overspray.
- Wax and grease remover: Cleans the surface before painting.
- Tack cloth: Removes dust and debris before painting.
Step-by-Step Guide to Repairing Rust Spots
Now, let’s get into the actual rust repair process. Follow these steps carefully for the best results:
Step 1: Preparation
Begin by thoroughly cleaning the area around the rust spots on your car with soap and water. Remove any dirt, grease, or debris. Use masking tape and paper to protect the surrounding paint from sanding and other processes. This is a crucial step to ensure the repair blends seamlessly with the existing finish.
Step 2: Removing the Rust
Use a wire brush or a drill with a wire brush attachment to remove loose rust. Apply firm pressure and work in a circular motion. For stubborn rust spots on your car, use sandpaper with a coarse grit (80 or 120) to grind down the rust. Feather the edges of the sanded area to create a smooth transition to the surrounding paint. The goal is to remove all visible rust and create a clean, bare metal surface.
Step 3: Applying Rust Converter
Apply a rust converter to the affected area. Rust converter chemically reacts with the rust, neutralizing it and preventing it from spreading. Follow the manufacturer’s instructions carefully. Typically, you’ll need to apply a thin, even coat and allow it to dry completely. Some rust converters may require multiple applications. This step is vital for ensuring long-term rust repair.
Step 4: Filling Imperfections with Body Filler
If the rust has created any dents or imperfections, use body filler (Bondo) to fill them in. Mix the body filler according to the manufacturer’s instructions, and apply it to the affected area using a putty knife or spreader. Apply thin layers and allow each layer to dry completely before applying the next. Overfill the area slightly, as you’ll be sanding it down later. Body filler helps restore the original shape of the panel and provides a smooth surface for painting. This is where patience is key for effective rust spot repair.
Step 5: Sanding the Body Filler
Once the body filler is completely dry, sand it down to match the surrounding surface. Start with a coarser grit sandpaper (120 or 220) to remove the excess filler, and then switch to a finer grit sandpaper (320) to smooth the surface. Feather the edges of the filled area to create a seamless transition to the surrounding paint. The goal is to create a smooth, even surface that is ready for priming and painting. Proper sanding is critical for a professional-looking rust repair.
Step 6: Priming the Surface
Apply a coat of primer to the repaired area. Primer helps to seal the surface, provides a better adhesion for the paint, and helps to prevent rust from returning. Apply a thin, even coat of primer and allow it to dry completely. Lightly sand the primed surface with fine-grit sandpaper (320 or 400) to create a smooth surface for painting. This step ensures that the paint adheres properly and provides a durable finish. Priming is an essential step in repairing rust spots on your car.
Step 7: Painting
Apply several thin coats of automotive paint to the primed area, allowing each coat to dry completely before applying the next. Use a spray can or a paint sprayer for best results. Match the paint color to the original color of your car. Apply the paint in smooth, even strokes, overlapping each stroke slightly. Avoid applying too much paint at once, as this can cause runs and drips. Multiple thin coats are better than one thick coat. Achieving a perfect color match is key when repairing rust spots on your car.
Step 8: Applying Clear Coat
After the paint has dried completely, apply a coat of clear coat to protect the paint and add shine. Apply the clear coat in the same way as the paint, using thin, even coats. Allow the clear coat to dry completely. This final step protects the paint from the elements and gives your car a professional-looking finish. Clear coat is essential for long-lasting rust repair.
Step 9: Polishing and Waxing
Once the clear coat has dried completely, polish and wax the repaired area to blend it seamlessly with the surrounding paint. Use a polishing compound to remove any imperfections in the clear coat, and then apply a coat of wax to protect the paint and add shine. This final step will make your rust repair virtually invisible. A proper polish and wax will complete the repair of rust spots on your car.
Preventing Future Rust
Once you’ve repaired rust spots on your car, it’s important to take steps to prevent future rust from forming. Here are some tips:
- Wash your car regularly, especially after driving on salted roads.
- Apply wax to protect the paint.
- Touch up any chips or scratches in the paint immediately.
- Consider applying a rust inhibitor to the undercarriage of your car.
- Park your car in a garage or carport whenever possible.
When to Seek Professional Help
While you can repair rust spots on your car yourself, there are times when it’s best to seek professional help. If the rust is extensive, has penetrated deep into the metal, or has affected structural components of your car, it’s best to take it to a professional body shop. They have the tools, expertise, and experience to handle more complex rust repair jobs safely and effectively. Trying to repair severe rust damage yourself could potentially compromise the safety of your vehicle. [See also: Car Body Repair Costs]
Conclusion
Repairing rust spots on your car is a manageable task with the right tools, materials, and knowledge. By following the steps outlined in this guide, you can effectively remove rust, restore your car’s appearance, and prevent further damage. Remember to prioritize safety and take your time to ensure a professional-looking finish. Regular maintenance and preventative measures will help keep your car rust-free for years to come. Don’t let those rust spots on your car get the best of you – take action today!
