
Silence the Symphony of Squeaks: How to Fix a Squeaky Chair
A squeaky chair can be more than just an annoyance; it can disrupt focus, irritate colleagues, and generally detract from a peaceful environment. Whether it’s in your home office, the dining room, or a bustling workplace, that persistent squeak can quickly drive you to distraction. But fear not! Fixing a squeaky chair is often a straightforward process, requiring minimal tools and a bit of patience. This guide will walk you through the steps to diagnose the cause of the squeak and implement effective solutions to restore your chair to its former glory.
Understanding the Culprit: Identifying the Source of the Squeak
Before diving into potential fixes, it’s crucial to pinpoint exactly where the squeak is originating. A systematic approach will save you time and effort. Start by slowly rocking or rotating the chair, paying close attention to the sound. Try to isolate the noise to a specific area, such as the legs, seat, backrest, or any moving parts.
- Legs and Frame: Check where the legs connect to the seat and frame. Loose screws or worn joints are common culprits.
- Seat: The squeak might be coming from the seat cushion rubbing against the frame or the seat itself flexing under weight.
- Backrest: Similar to the seat, the backrest can squeak where it connects to the frame.
- Moving Parts: If your chair has swivel or tilt mechanisms, these are prime suspects. Look for friction points and loose components.
Once you’ve identified the general area, try applying pressure to different points to further narrow down the source. Have someone else sit in the chair while you listen carefully from underneath, if possible. This can help you pinpoint the exact spot where the squeak is loudest.
Arming Yourself: Essential Tools and Materials
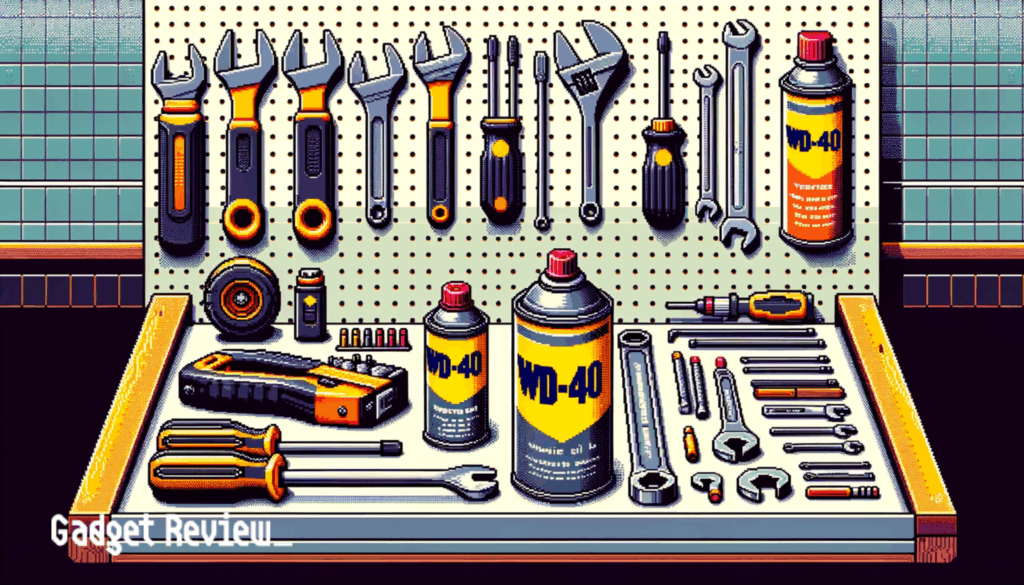
Fortunately, fixing a squeaky chair typically doesn’t require a vast array of specialized tools. Here’s a list of common items you’ll likely need:
- Screwdrivers: A variety of sizes and types (Phillips head and flathead) to fit the screws on your chair.
- Wrench or Pliers: For tightening bolts and nuts.
- Lubricant: WD-40, silicone spray, or dry lubricant (such as Teflon-based lubricant) to reduce friction.
- Wood Glue: For repairing loose wooden joints.
- Wood Shims: To fill gaps in loose joints.
- Cloth or Paper Towels: For cleaning and wiping excess lubricant.
- Safety Glasses: To protect your eyes from debris.
The Fix is In: Step-by-Step Solutions for a Squeak-Free Chair
Now that you’ve identified the source of the squeak and gathered your tools, it’s time to implement the appropriate solution. Here are several common fixes, depending on the cause of the problem:
Tightening Loose Screws and Bolts
This is often the first and simplest solution to try. Loose screws are a frequent cause of squeaky chairs. Use the appropriate screwdriver or wrench to tighten all screws and bolts in the affected area. Be careful not to overtighten, as this could strip the threads or damage the chair.
Lubricating Friction Points
Friction between moving parts is another common cause of squeaks. Apply a lubricant, such as WD-40 or silicone spray, to the points where parts rub together. This is particularly effective for swivel mechanisms, tilt controls, and joints. Use a small amount of lubricant and wipe away any excess to prevent it from attracting dust and dirt. Dry lubricants are also a good option, especially in dusty environments, as they don’t attract as much grime.
Addressing Loose Joints
If the squeak is coming from loose wooden joints, you may need to reinforce them with wood glue and shims. First, clean the joint thoroughly to remove any dirt or debris. Then, apply a generous amount of wood glue to the joint and clamp it tightly together. Insert wood shims into any gaps to provide additional support. Allow the glue to dry completely according to the manufacturer’s instructions before removing the clamps.
Cushion Adjustments
Sometimes, the squeak originates from the seat cushion rubbing against the frame. Try repositioning the cushion or adding padding between the cushion and the frame to reduce friction. You can use foam padding, fabric scraps, or even a piece of cardboard to create a buffer.
Dealing with Metal-on-Metal Contact
If metal parts are rubbing directly against each other, causing the squeak, consider using a lubricant specifically designed for metal surfaces. You can also try adding a thin layer of felt or rubber between the metal parts to create a barrier and reduce friction.
Disassembling and Reassembling the Chair
In some cases, the best way to fix a squeaky chair is to completely disassemble it and then reassemble it carefully. This allows you to inspect each component for damage or wear and tear, and to ensure that all parts are properly aligned and secured. When reassembling, be sure to use new screws or bolts if the old ones are worn or damaged.
Preventative Measures: Keeping Your Chair Squeak-Free
Once you’ve successfully fixed your squeaky chair, it’s important to take steps to prevent the problem from recurring. Here are a few preventative measures you can take:
- Regularly tighten screws and bolts: Check the chair periodically and tighten any loose fasteners.
- Lubricate moving parts: Apply lubricant to swivel mechanisms and joints every few months to keep them moving smoothly.
- Avoid overloading the chair: Exceeding the chair’s weight capacity can put stress on the joints and components, leading to squeaks.
- Protect the chair from moisture: Moisture can cause wood to swell and warp, which can lead to squeaks. Keep the chair in a dry environment and avoid spilling liquids on it.
When to Call in the Professionals
While many squeaky chair issues can be resolved with DIY methods, there are times when it’s best to consult a professional. If the chair is structurally damaged, such as with broken legs or a cracked frame, it may be unsafe to use and require professional repair or replacement. Similarly, if you’ve tried multiple fixes without success, or if you’re uncomfortable disassembling the chair yourself, a furniture repair specialist can provide expert assistance.
The Sweet Sound of Silence: Enjoying Your Squeak-Free Chair
Fixing a squeaky chair is a rewarding task that can significantly improve your comfort and productivity. By following these steps, you can silence the symphony of squeaks and enjoy the sweet sound of silence. Remember to take your time, be patient, and don’t be afraid to experiment until you find the solution that works best for your chair. Now, sit back, relax, and enjoy your squeak-free seating!
Taking the time to fix a squeaky chair is a small investment that yields significant returns in terms of peace of mind and a more pleasant working or living environment. By identifying the source of the noise, gathering the necessary tools, and implementing the appropriate fix, you can restore your chair to its former glory and enjoy years of comfortable, squeak-free use. Don’t let that annoying squeak continue to plague your days – take action today and reclaim your quiet space.
[See also: How to Maintain Office Furniture]
[See also: Ergonomic Chair Adjustments for Optimal Comfort]
[See also: Choosing the Right Chair for Back Pain]
